
Xampp Installation on Windows 10
If you’re a web developer or someone who is interested in learning web development, you may have come across the term “XAMPP” at some point. XAMPP is a powerful tool that allows you to set up a local development environment quickly and easily. In this article, we will guide you through the process of XAMPP installation on your system and getting it up and running.
In this Tutorial, I will guide you Xampp Installation in Windows 10 step by step so that you don’t get yourself in any confusion.
So Let’s Go ahead and see what the process is,
Tips: You will have to Turn Off any running Antiviruses.
1: Go to Google and type “Xampp download” in the search bar and press enter,

2: Then click on the first link as shown in the picture,

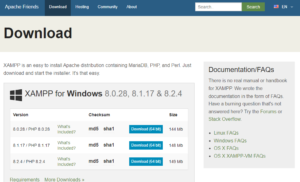
3: After clicking the download link you’ll pop up with the screen shown below and you have to download the latest version,
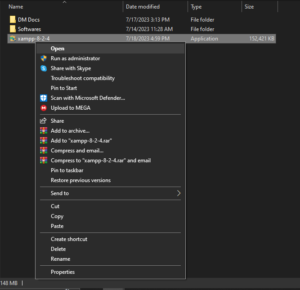
4: After the download is complete, Double click on the setup file or Run as Administrator,
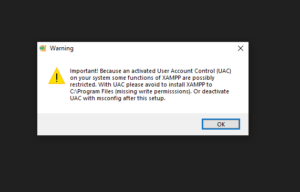
5: A notification will pop up as shown below, you just have to press “OK” and continue,
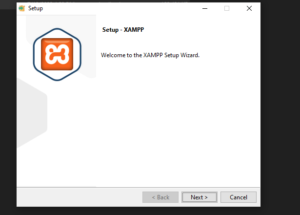
6: After clicking “OK” you will show up with “SETUP XAMPP” and you have to press “NEXT” to continue,
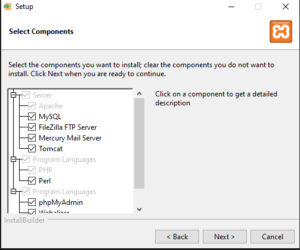
7: Then the “Select Component” tray will appear and you just have to press “NEXT” to continue,
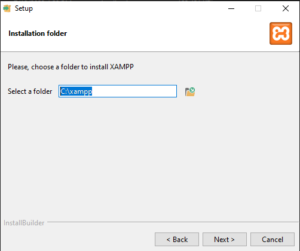
8: After this step, you will have to select the folder in which all Xampp data will be saved and processed,
9: Select Language & press “NEXT”

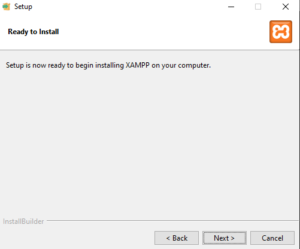
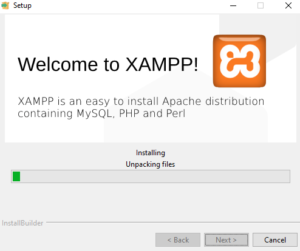
10: Then it will show you the “Ready to Install” tray, Just press “NEXT” and then Installation will start as shown in the pictures,
11: “Finish” Tray will open once the Installation is Complete,

This was the simple process of Xampp Installation on Windows 10. I hope it helped you a lot.
FAQs:
- Is XAMPP free to use?
Yes, XAMPP is an open-source software package and is available for free.
- Can I use XAMPP for production websites?
No, XAMPP is not designed for production use and is intended for local development and testing purposes only